


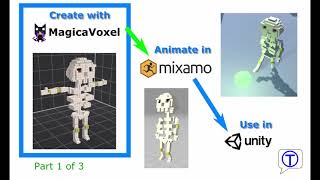
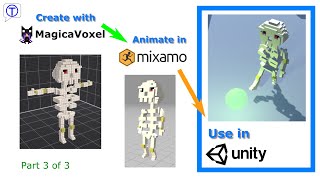
From the first voxel in MagicaVoxel to a fully animated character walking around in Unity 3D

I just started developing a new RPG game with Unity 3D. To speed up the process I decided to use voxel graphics and animate the humanoid characters in mixamo.
I decided to use these tools because they are very easy to use and free for commercial use.
First, let’s look at the tools used in this tutorial
Unity 3D (obviously) – may be the most popular 3D game engine for small and indie studios: unity.com

MagicaVoxel – a free and easy-to-use voxel editor: ephtracy.github.io

Mixamo – an online library with hundreds of humanoid animations and a tool to automatically rig human characters. Owned by Adobe, but still free to use: www.mixamo.com
Create a 3D voxel character in MagicaVoxel
First, create the character in MagicaVoxel. MagicaVoxel is pretty easy and straightforward to use, so I will not go into details about how to use it. One thing to remember is to create your character in the T-Pose.
Here is a timelapse video on how I created the skeleton character:
After You have created your character in MagicaVoxel click on export (bottom right corner) and choose the obj format.
The export consists of multiple files (geometry, material, and texture). To be able to see the textures in mixamo and Unity pack all exported files in a single zip file for further use.
Import and animate the character in mixamo
Mixamo is owned by Adobe. It is a free service to use, but you still need an Adobe account to use it!
After login into mixamo, click on the “UPLOAD CHARACTER” button and drag and drop the zip file in the popup window.
After the model is loaded click next to get to the “AUTO-RIGGER” view:
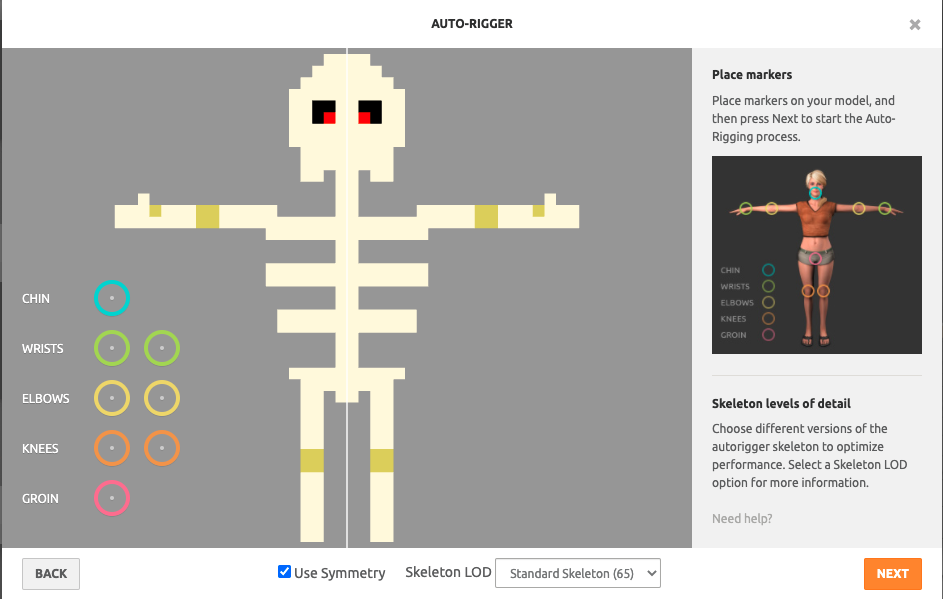
Place the markers in the appropriate positions:

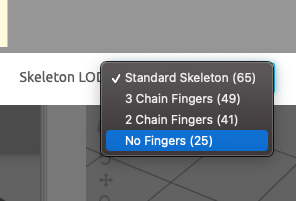
Select “No Fingers” in the “Skeleton LOD” drop-down box.
Click “NEXT” and wait for the “AUTO-RIGGER” to complete.
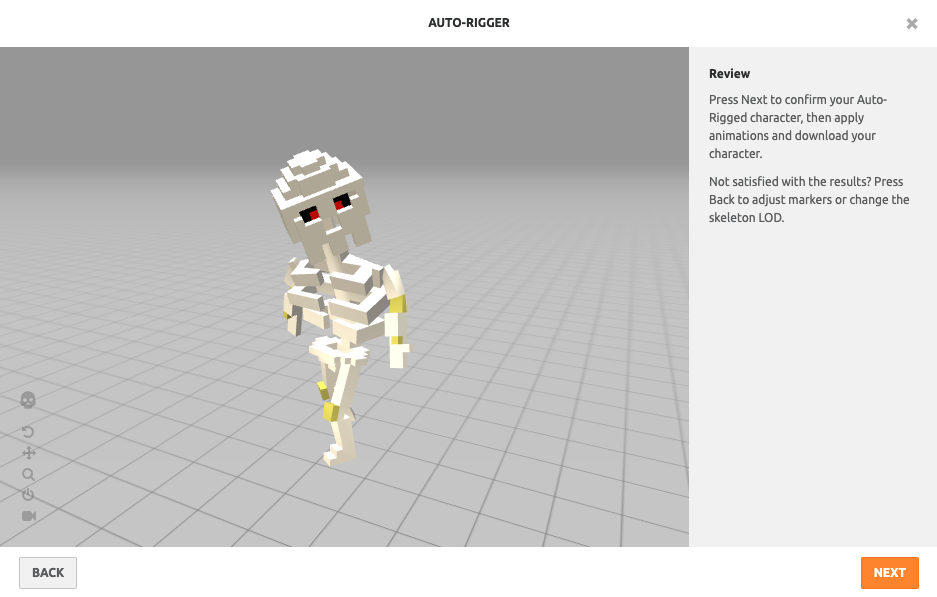
Click “NEXT” and You’re ready to choose animations for your character.
First we need the rigged character in T-Pose with all the geometry data.
- In the Search box search for “T-Pose“
- Select the T-Pose and click Download
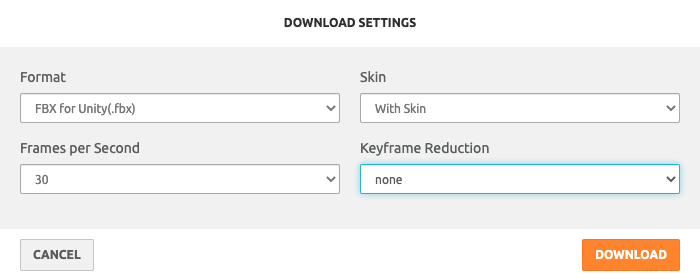
- Select “FBX for Unity(.fbx)” in the Format drop-down box
- Select “With Skin” in the Skin drop-down box
- Click Download
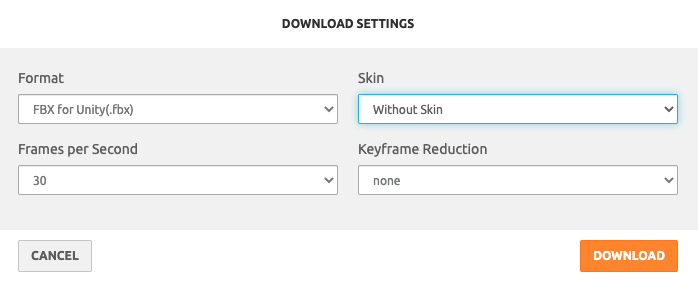
Now choose idle and walk animations.
When exporting them, you don’t need to include the skin (it is already included in the T-Pose fbx)!
Now You should have three fbx files:
- T-Pose (static, no animation)
- Idle animation
- Walk animation
For a detailed overview, here is a short video I made with all the steps described above:
Import and use the animated character in Unity 3D
You can import the animated character in Unity just by dropping it in an Assets sub-folder.
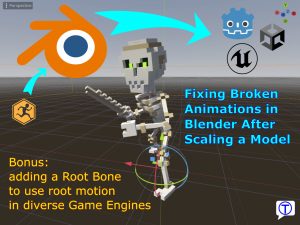
When importing animated characters in Unity, there are lots of small problems that can drive You crazy. To avoid the majority of them I created this tips and tricks cheat sheet:
- Fix the material by extracting the texture and the material from the fbx file (in the Material tab)
- Change the “Rig Animation Type” to “Humanoid” (in the Rig tab)
- Change the “Avatar Definition” of the animations to “Copy From Other Avatar” and choose the T-PoseAvatar as Source (in the Rig tab)
- Change the “Scale Factor” of the T-Pose to e.g. 50 (in the Model tab)
- For the Loop Animations (idle and run) select the – “Loop Time” checkbox (in the Animation tab)
- For the Idle animation choose “Motion” – “Root Motion Node” and select “Root Transform” instead of “None” (in the Animation tab)
- For the Run animation choose “Root Transform Rotation” – Based Upon (at Start) – Original instead of Body Orientation
I made a video on how to use these tips and tricks to fix the problems you may encounter:
And here is a video on how to make simple navigation using the NavMesh and use the animated character to walk around:

Leave a Reply
You must be logged in to post a comment.