


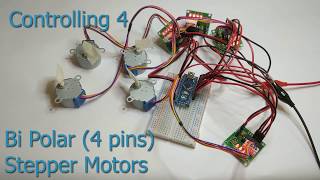
For my next project, I bought four cheap bipolar stepper motors. In this tutorial, I’ll show you how to control all four of them simultaneously using Arduino Nano and utilizing sixteen pins (ten digital and six analog pins) for this.

I won’t go into detail about how a bipolar stepper motor works. What is important to know is how it is controlled.
A bipolar stepper motor has four input wires that have to be set as follows:
pins
1  2  3  4  step
1  0  0  0  1
0  1  0  0  2
0  0  1  0  3
0  0  0  1  4
There are four pins and four steps. On every step, the next pin is set to one and all other to zero. After step four we start from the beginning. This means that step five is equal to step one, step six is equal to step two, and so forth.
In this tutorial I’ll use 28BYJ-48 stepper motors:
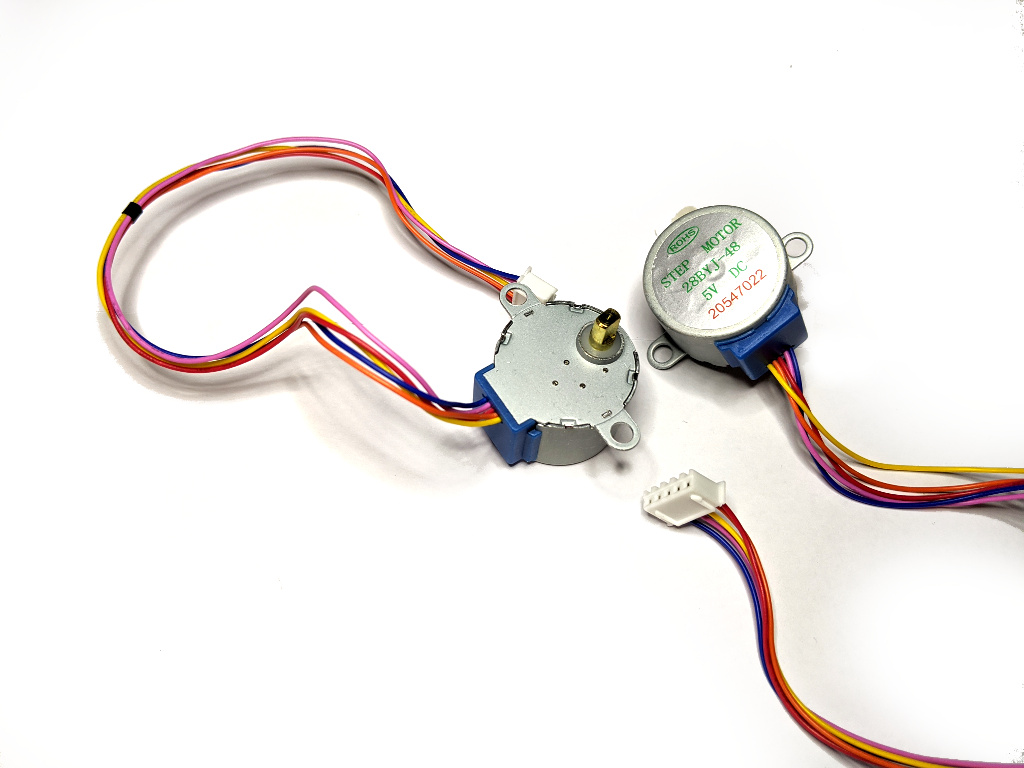
These are cheap and slow bipolar stepper motors, but very precise.
The stats we are interested in are:
- 2048 steps per revolution (4096 in half step)
- minimum of 2ms per step
- 4 pins control
- 5V DC
2048 steps with 2ms per step means over four seconds per full revolution maximum speed.
This is one of the test motor drivers that came with the stepper motors:
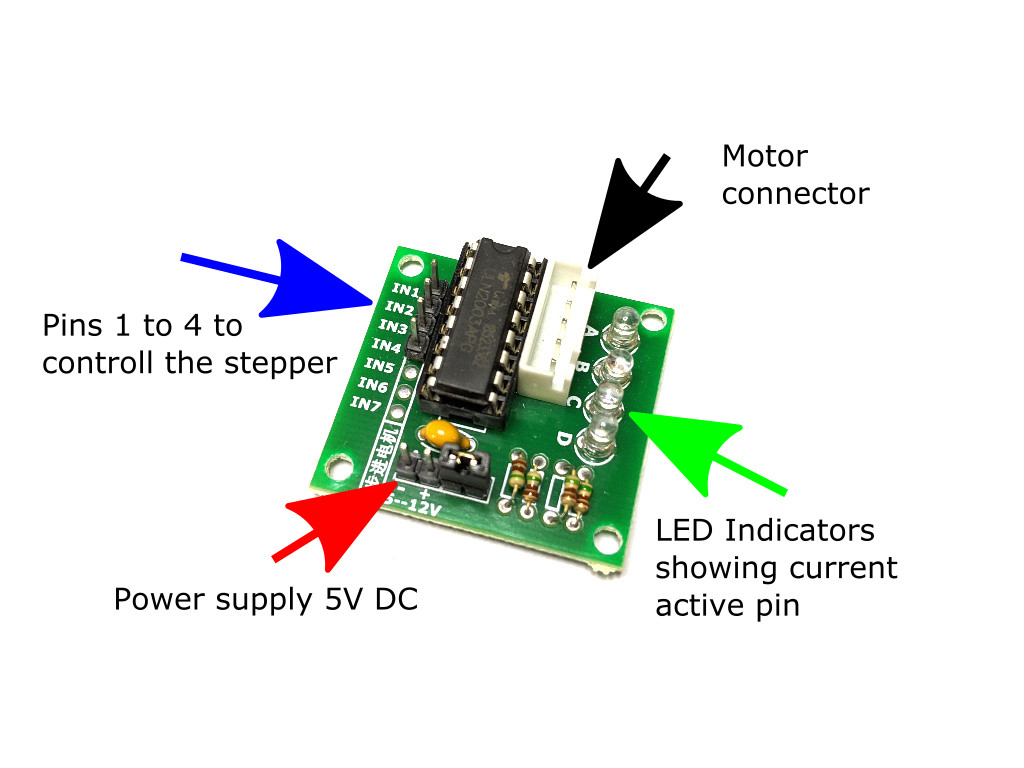
The good thing about this board is that it has LED indicators showing the currently activated pins.
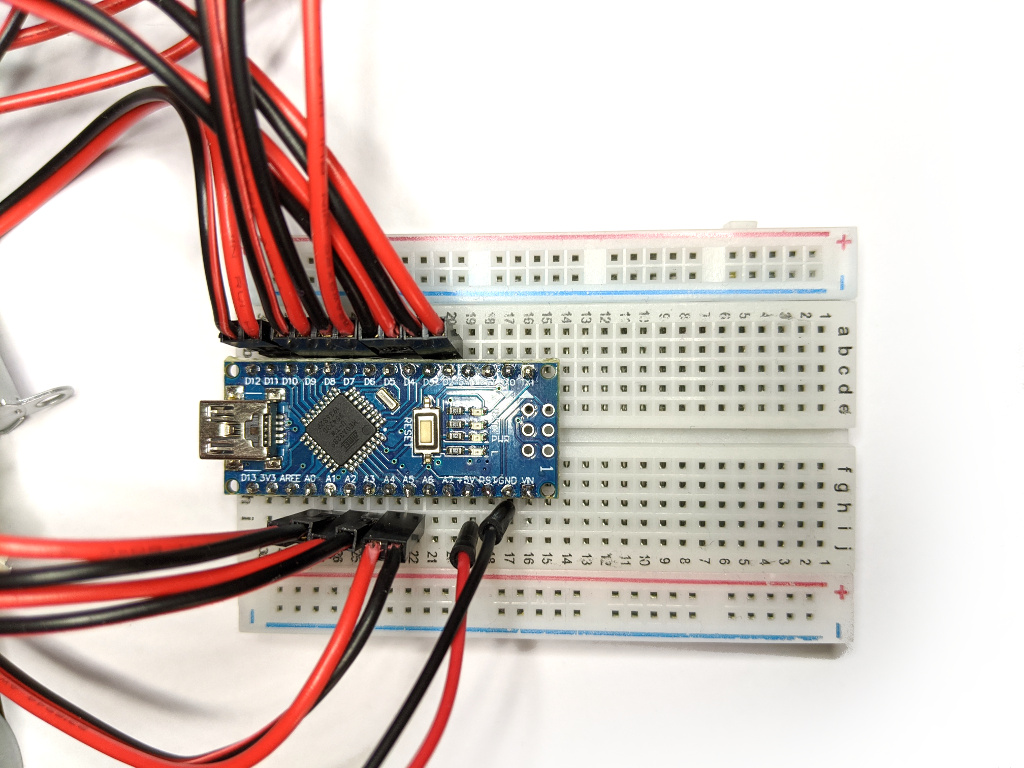
The bipolar stepper motors need four pins per motor. We want to control four motors in parallel and for this, we need sixteen pins.
Arduino has fourteen digital pins, but the first two can’t be used directly. So this leaves us with twelve pins. This is four pins less than we need and also no pins left for other tasks.
The good news is that Arduino Nano also has eight analog pins and six of them can be used as digital. We can use them simply as referring to them as 14 to 19 or the predefined names A0 to A5.
Using the analog and digital pins we can connect the motors like this:
Motor 1 pins A0 to A3
Motor 2 digital pins 10 and 11 and analog pins A4 and A5
Motor 3 pins 2 to 5
Motor 4 pins 6 to 9
Now let’s look at the code.
For this, I created the class BiPolStepper. With this class different bipolar stepper motors can be controlled.
The constructor needs the pins used for the stepper and the number of steps.
The stepper should be able to work in parallel without blocking each other. To achieve this the BiPolStepper class uses the non-blocking millis() function. All You have to do is to call the update() method for every stepper in the loop() function.
1 2 3 4 5 6 7 8 9 10 11 12 13 | void update() { if(canRotate()) rotate(); } bool isRunning() { return stepsToMake > 0; } void rotateFull(int rot, bool dir = true) { stepsToMake = steps * rot; this->dir = dir; } |
These are all the public methods of the BiPolStepper class.
As you can see in the rotateFull() method we just multiply the steps per revolution by the number of rotations. I wanted to keep it simple, but you can invent other methods that suit your needs better.
The update() method checks if the step’s time is reached and if so executes the next step.
From the private methods the canRotate() method checks if the next step can be executed:
1 2 3 | bool canRotate() { return (millis() - mls >= STEP_TIME) && isRunning(); } |
To not block I just check if the time until the last step is greater or equal to the STEP_TIME and if the motor should be in motion.
And the rotate() method executes the next step:
1 2 3 4 5 6 7 | void rotate() { stepsToMake--; mls = millis(); calcNextStep(); updateStep(); setStep(); } |
Here the calcNextStep() method calculates which is the next step according to the direction:
1 2 3 4 5 6 7 8 9 | void calcNextStep() { if(dir) { cStep = (cStep + 1) % 4; }else { if(cStep == 0) cStep = 4; cStep = (cStep - 1) % 4; } } |
We have four pins so we have to count until three and then zero again.
The updateStep() method updates the intern pins state:
1 2 3 4 | void updateStep() { for(int i=0; i<4; i++) state[i] = i == cStep?HIGH:LOW; } |
It just loops over the pins and sets the right value for them.
And the setStep() method sets the internal state of the pins:
1 2 3 4 | void setStep() { for(int i=0; i<4; i++) digitalWrite(pins[i], state[i]); } |
These are the important steps to control the steppers.
This is how the class can be used:
1 2 3 4 5 6 7 8 9 10 11 12 13 14 15 16 17 18 19 20 | #include "bipolarstepper.h" BiPolStepper s1 = BiPolStepper(A0, A1, A2, A3, 2048); BiPolStepper s2 = BiPolStepper(10, 11, A4, A5, 2048); BiPolStepper s3 = BiPolStepper(2, 3, 4, 5, 2048); BiPolStepper s4 = BiPolStepper(6, 7, 8, 9, 2048); void setup() { s1.rotateFull(10, false); s2.rotateFull(10, true); s3.rotateFull(10, false); s4.rotateFull(10, true); } void loop() { s1.update(); s2.update(); s3.update(); s4.update(); } |
As You can see, we create the four stepper objects by using the constructor with the used pins and the number of steps per revolution for the given motor.
In the setup() function we initiate some movements (10 revolutions per stepper cw or ccw)
All that is left is to update the stepper motors in the loop() function calling the update() method for every stepper motor.
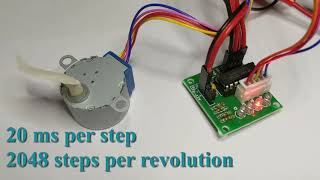
The motors came with a great test motor driver. I used it to make this video running the motors at different step duration (200ms, 20ms, 2ms):
And here you can see the four steppers controlled simultaneously:
If you need even more pins you can try using a shift register chip (e.g. the 595).
You can find the source code at GitHub here: https://github.com/nenovmy/arduino


Leave a Reply
You must be logged in to post a comment.