


How to print and assemble the Arduino-based Bluetooth (BLE) Android-controlled RC car BlueCArd.

In this tutorial, I’ll show You how to print and assemble the fully 3D printed Arduino based and through Bluetooth Low Energy (BLE) with Android device-controlled RC car BlueCArd.
At the end of this tutorial, You should be able to build your own BlueCArd.
3D printing the parts
I designed all parts to be as easy as possible to print.
I used these settings for all parts:
- 20% infill
- 0.2mm layer height
- 0.4mm nozzle
No brims or rafts are needed.
The following elements need support:
- The main_base needs support only below the on/off switch hole and the screw hole for the battery pack cover.
- The front_wheel_bearing_holder (left and right)
- The battery_pack_cover needs some support for the screw hole
All other elements can be printed without support.
Preparing the electronic and the software
Here is a list of all the elements besides the printed parts You need: https://www.thinker-talk.com/post/bluecard-3d-printed-arduino-rc-car-part-1
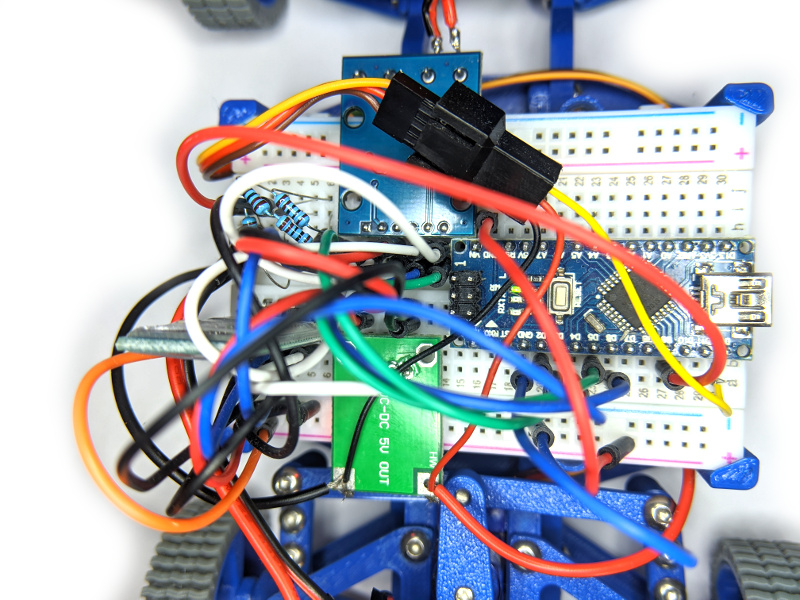
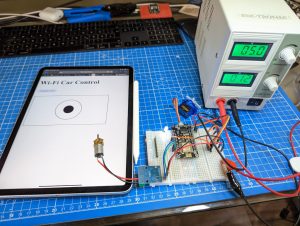
The schematic of the circuit is also included in the URL above. You can connect everything using the circuit or You can follow the posts and also understand the electronic.
The source for the Android app and the Arduino sketch can be downloaded from GitHub: https://github.com/nenovmy/ardcar
I recommend installing the Android Studio and compile and deploy the Android app from there. If You don’t want to do this, You can install the Android app from the google play store: https://play.google.com/store/apps/details?id=com.nenoff.ardbttest
For the Arduino sketch, You will need the Arduino IDE: https://www.arduino.cc/en/Main/Software
You can download the STL files from Thingiverse: https://www.thingiverse.com/thing:4332095
Before we go to the next step and assemble the car these steps must be completed:
- Install the sketch to the Arduino Nano microcontroller
- Install the Android app on an Android device (from code or from the play store)
- Connect the circuit on the breadboard
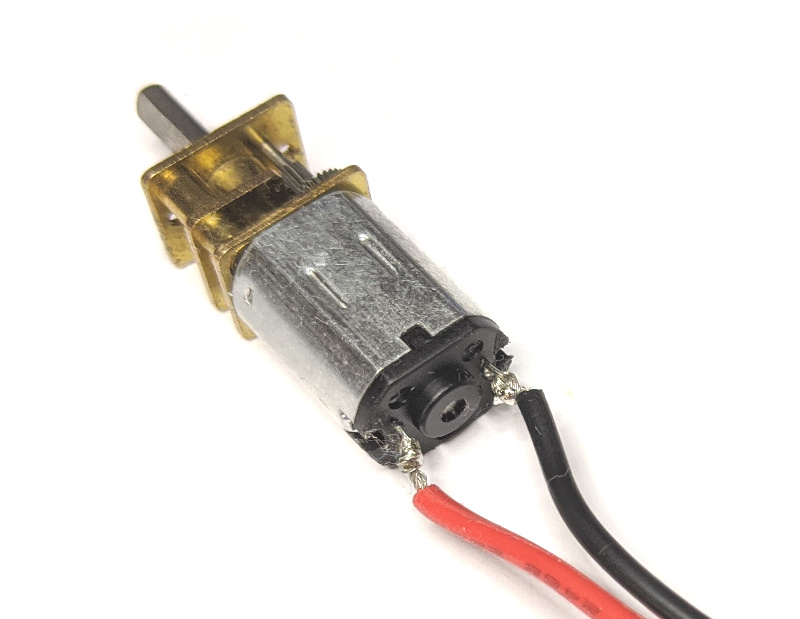
- Solder wires to the DC motor
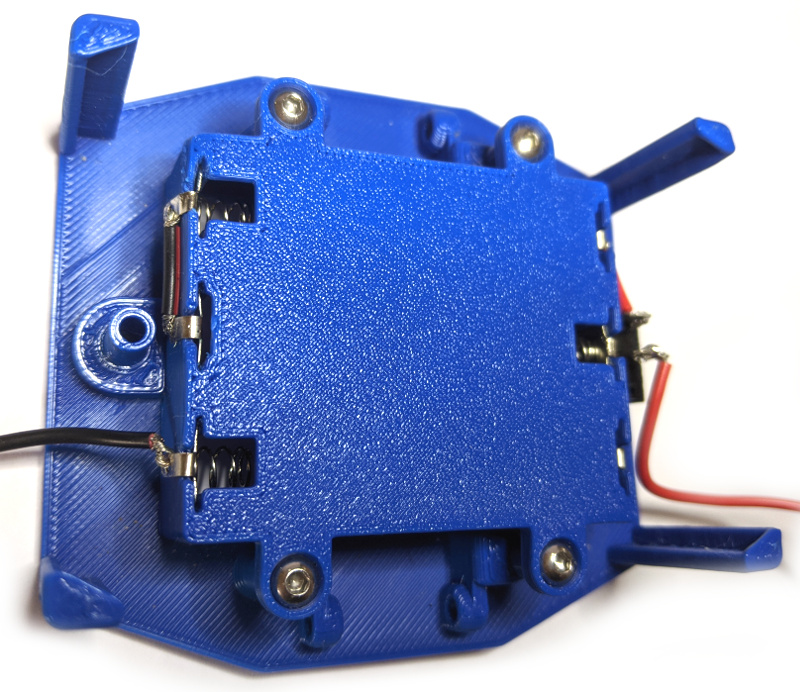
- Insert the battery shrapnels into the battery box and connect them with wire. The batteries have to be connected in series so the output voltage is 3.6V (for AA rechargeable) or 4.5V (for AA non-rechargeable)
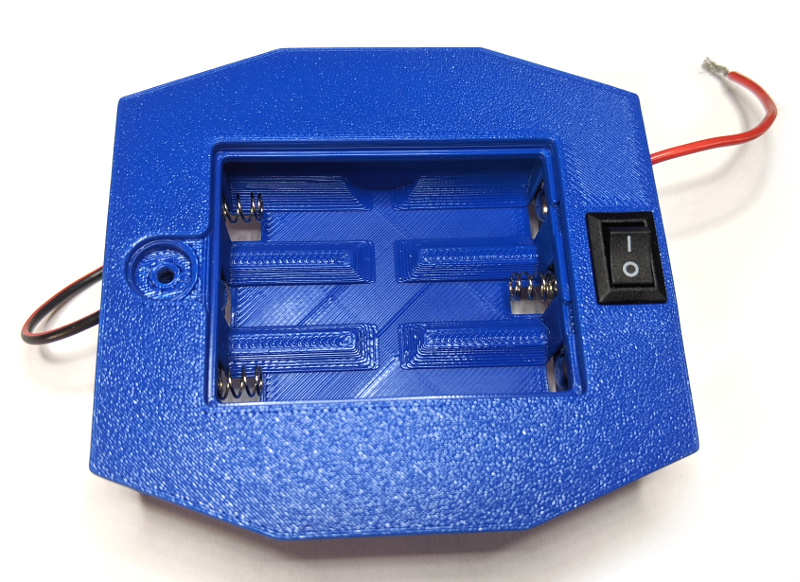
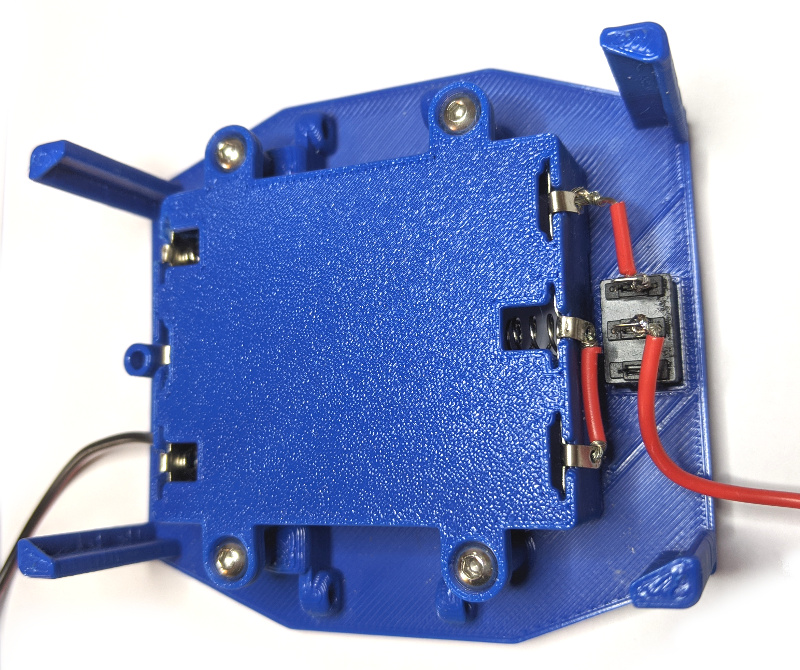
- Insert the on/off switch and connect it (see above)
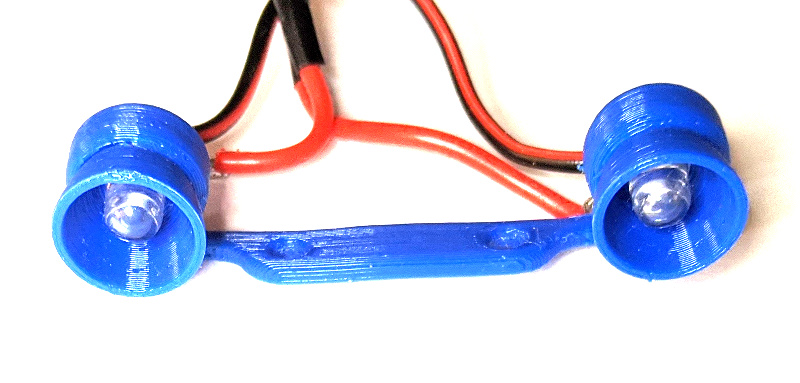
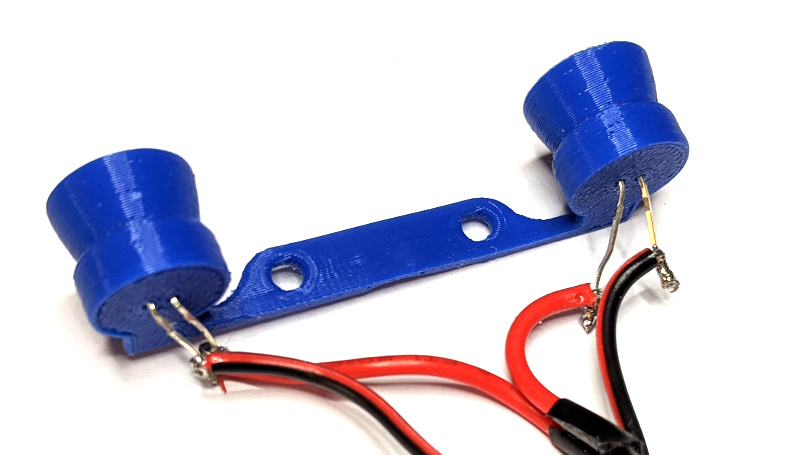
- Insert and solder the LEDs for the lights
Assembling the car
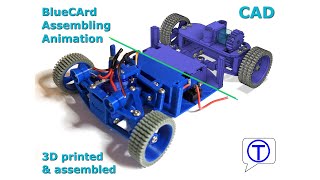
Here is a detailed animation on how to assemble the car. I designed the car in Fusion360, and I also used Fusion360 to make the assembly animation.
Now attach the breadboard to the car and connect the DC motor, the servo motor, the LEDs, and the power supply.
Next Steps
Have fun with the car and don’t forget to visit my blog again 😉
Previous: BlueCArd part 8 – controlling a Servo Motor from Arduino Nano with an Android device


Leave a Reply
You must be logged in to post a comment.